
I’m always trying to challenge myself with my sewing, and a couple of months ago I decided swimwear would be my next challenge! We were going on holiday soon, and as I rarely swim in my day to day life it seemed like this would be the only chance I’d get to make a swimming costume and actually wear it. And so began the most challenging project I’ve ever made…
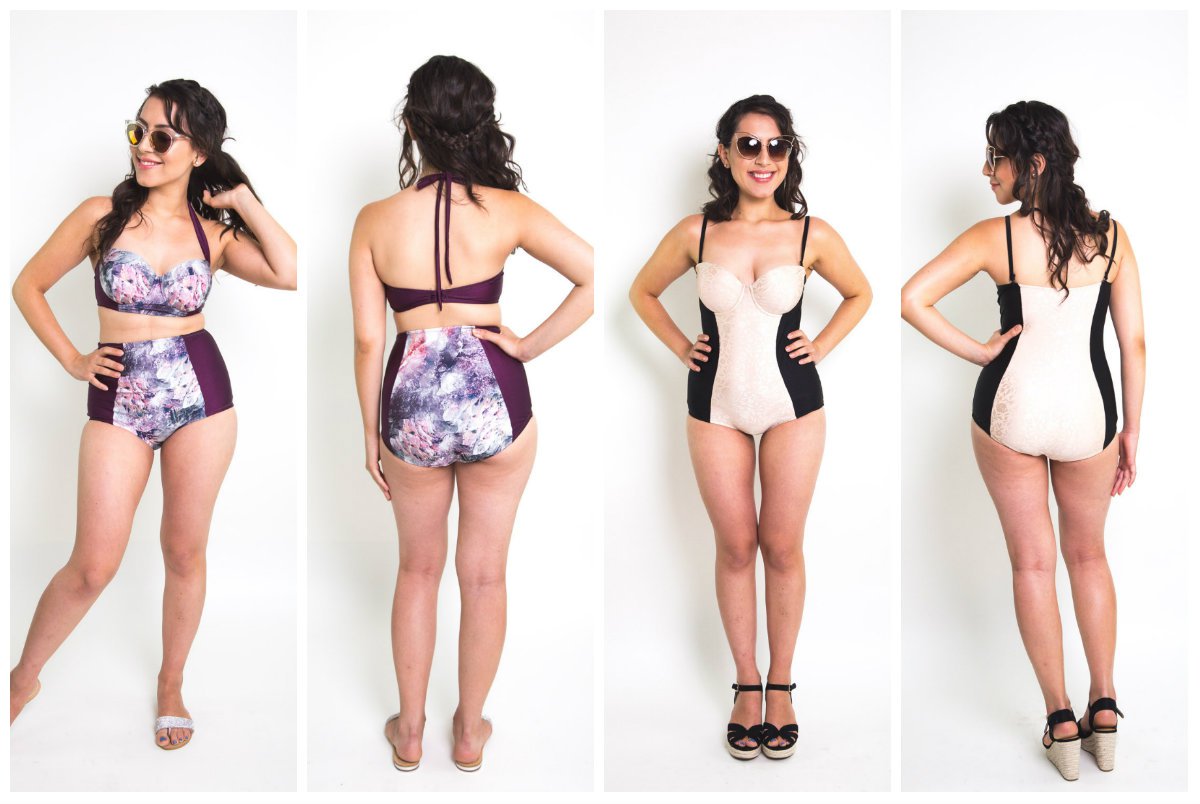
I chose the Sophie swimsuit from Closet Case Patterns, mainly because there’s an in-depth online class you can take that holds your hand whilst you make it. I could probably have chosen a far simpler pattern, as I really don’t need the extra bust support the Sophie swimsuit offers, but the online class swung it for me. Apparently I love to make things difficult for myself!
I thought the online class was absolutely brilliant- it was so informative I didn’t glance at the pattern instructions once! Below each video lesson there’s a comments section where you can ask any questions; at one point I had a question about sizing, and got a reply within a day!
I had real difficulty sourcing the materials in the UK, and in the end I had to order them from the states 😦 I bought one of Emerald Erin’s swimwear kits, and whilst the shipping and customs were expensive, having all the kit put together already removed a lot of hassle. The outer fabric was the only thing I could find in the UK, and I got it from funkifabrics.
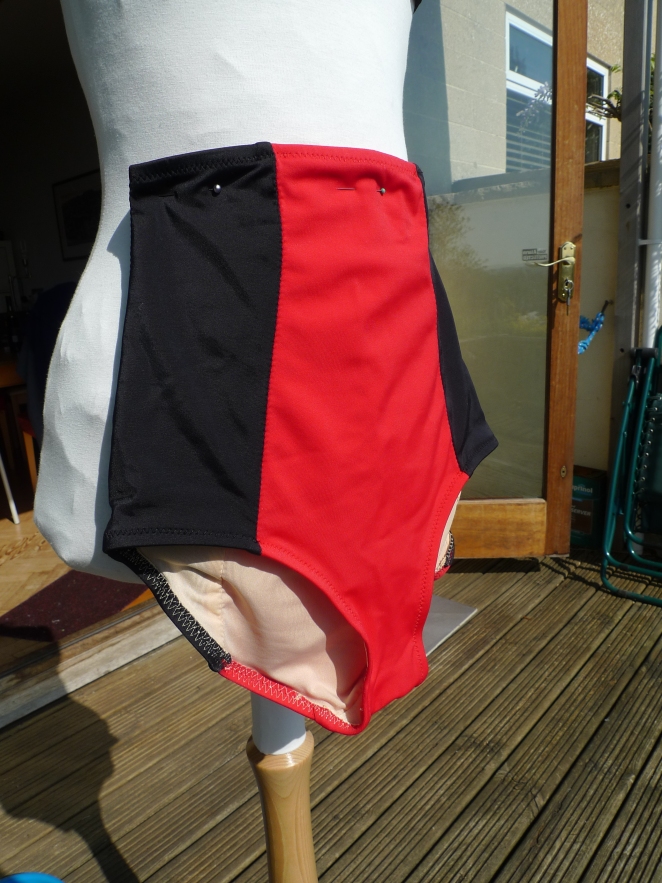
Here’s how my finished bikini turned out:

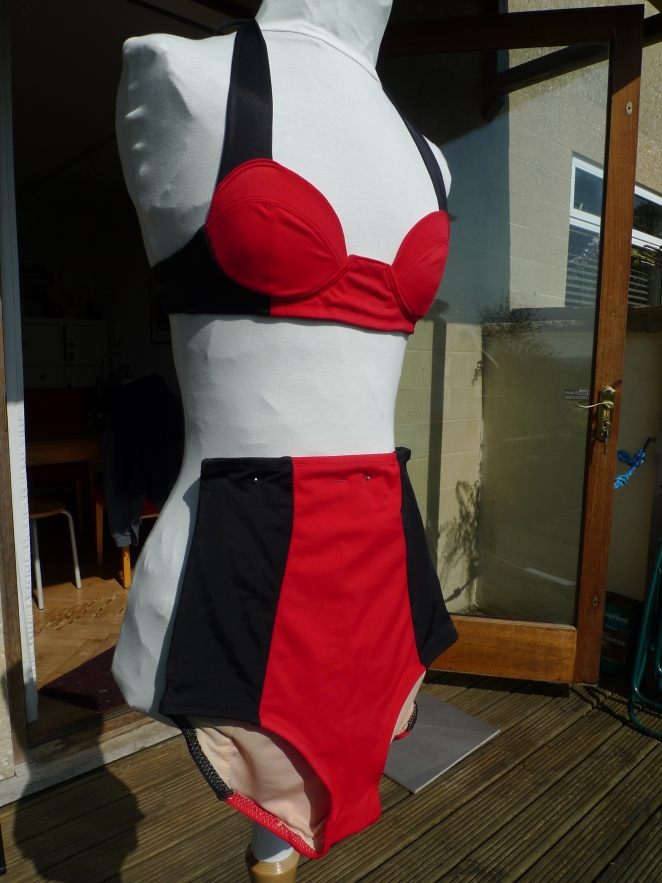
(It’s hard to show how the bikini bottoms fit as my mannequin doesn’t have a crotch or legs!)
I love how the contrasting red and black highlights the curved panels- it gives it a slight retro vibe without looking overtly vintage, which is exactly what I wanted!
The main thing I want to talk about is the fit, as with a skin-tight pattern like this one it makes or breaks it. The pattern includes US sizes 0-20, and each main size has a choice of 5 cup sizes, which allows you to really tailor it to your body shape. My measurements put me in a size 2 at the hips and a size 0 everywhere else. My cup size came out as 3, which I was immediately suspicious of! I’m fairly flat chested, so it seemed unlikely that my cup size equated to roughly a C cup. I made a test cup in the size 3 anyway, and unsurprisingly it was wayyyyy too big. Like, here’s the size 3 and my final cup side by side:
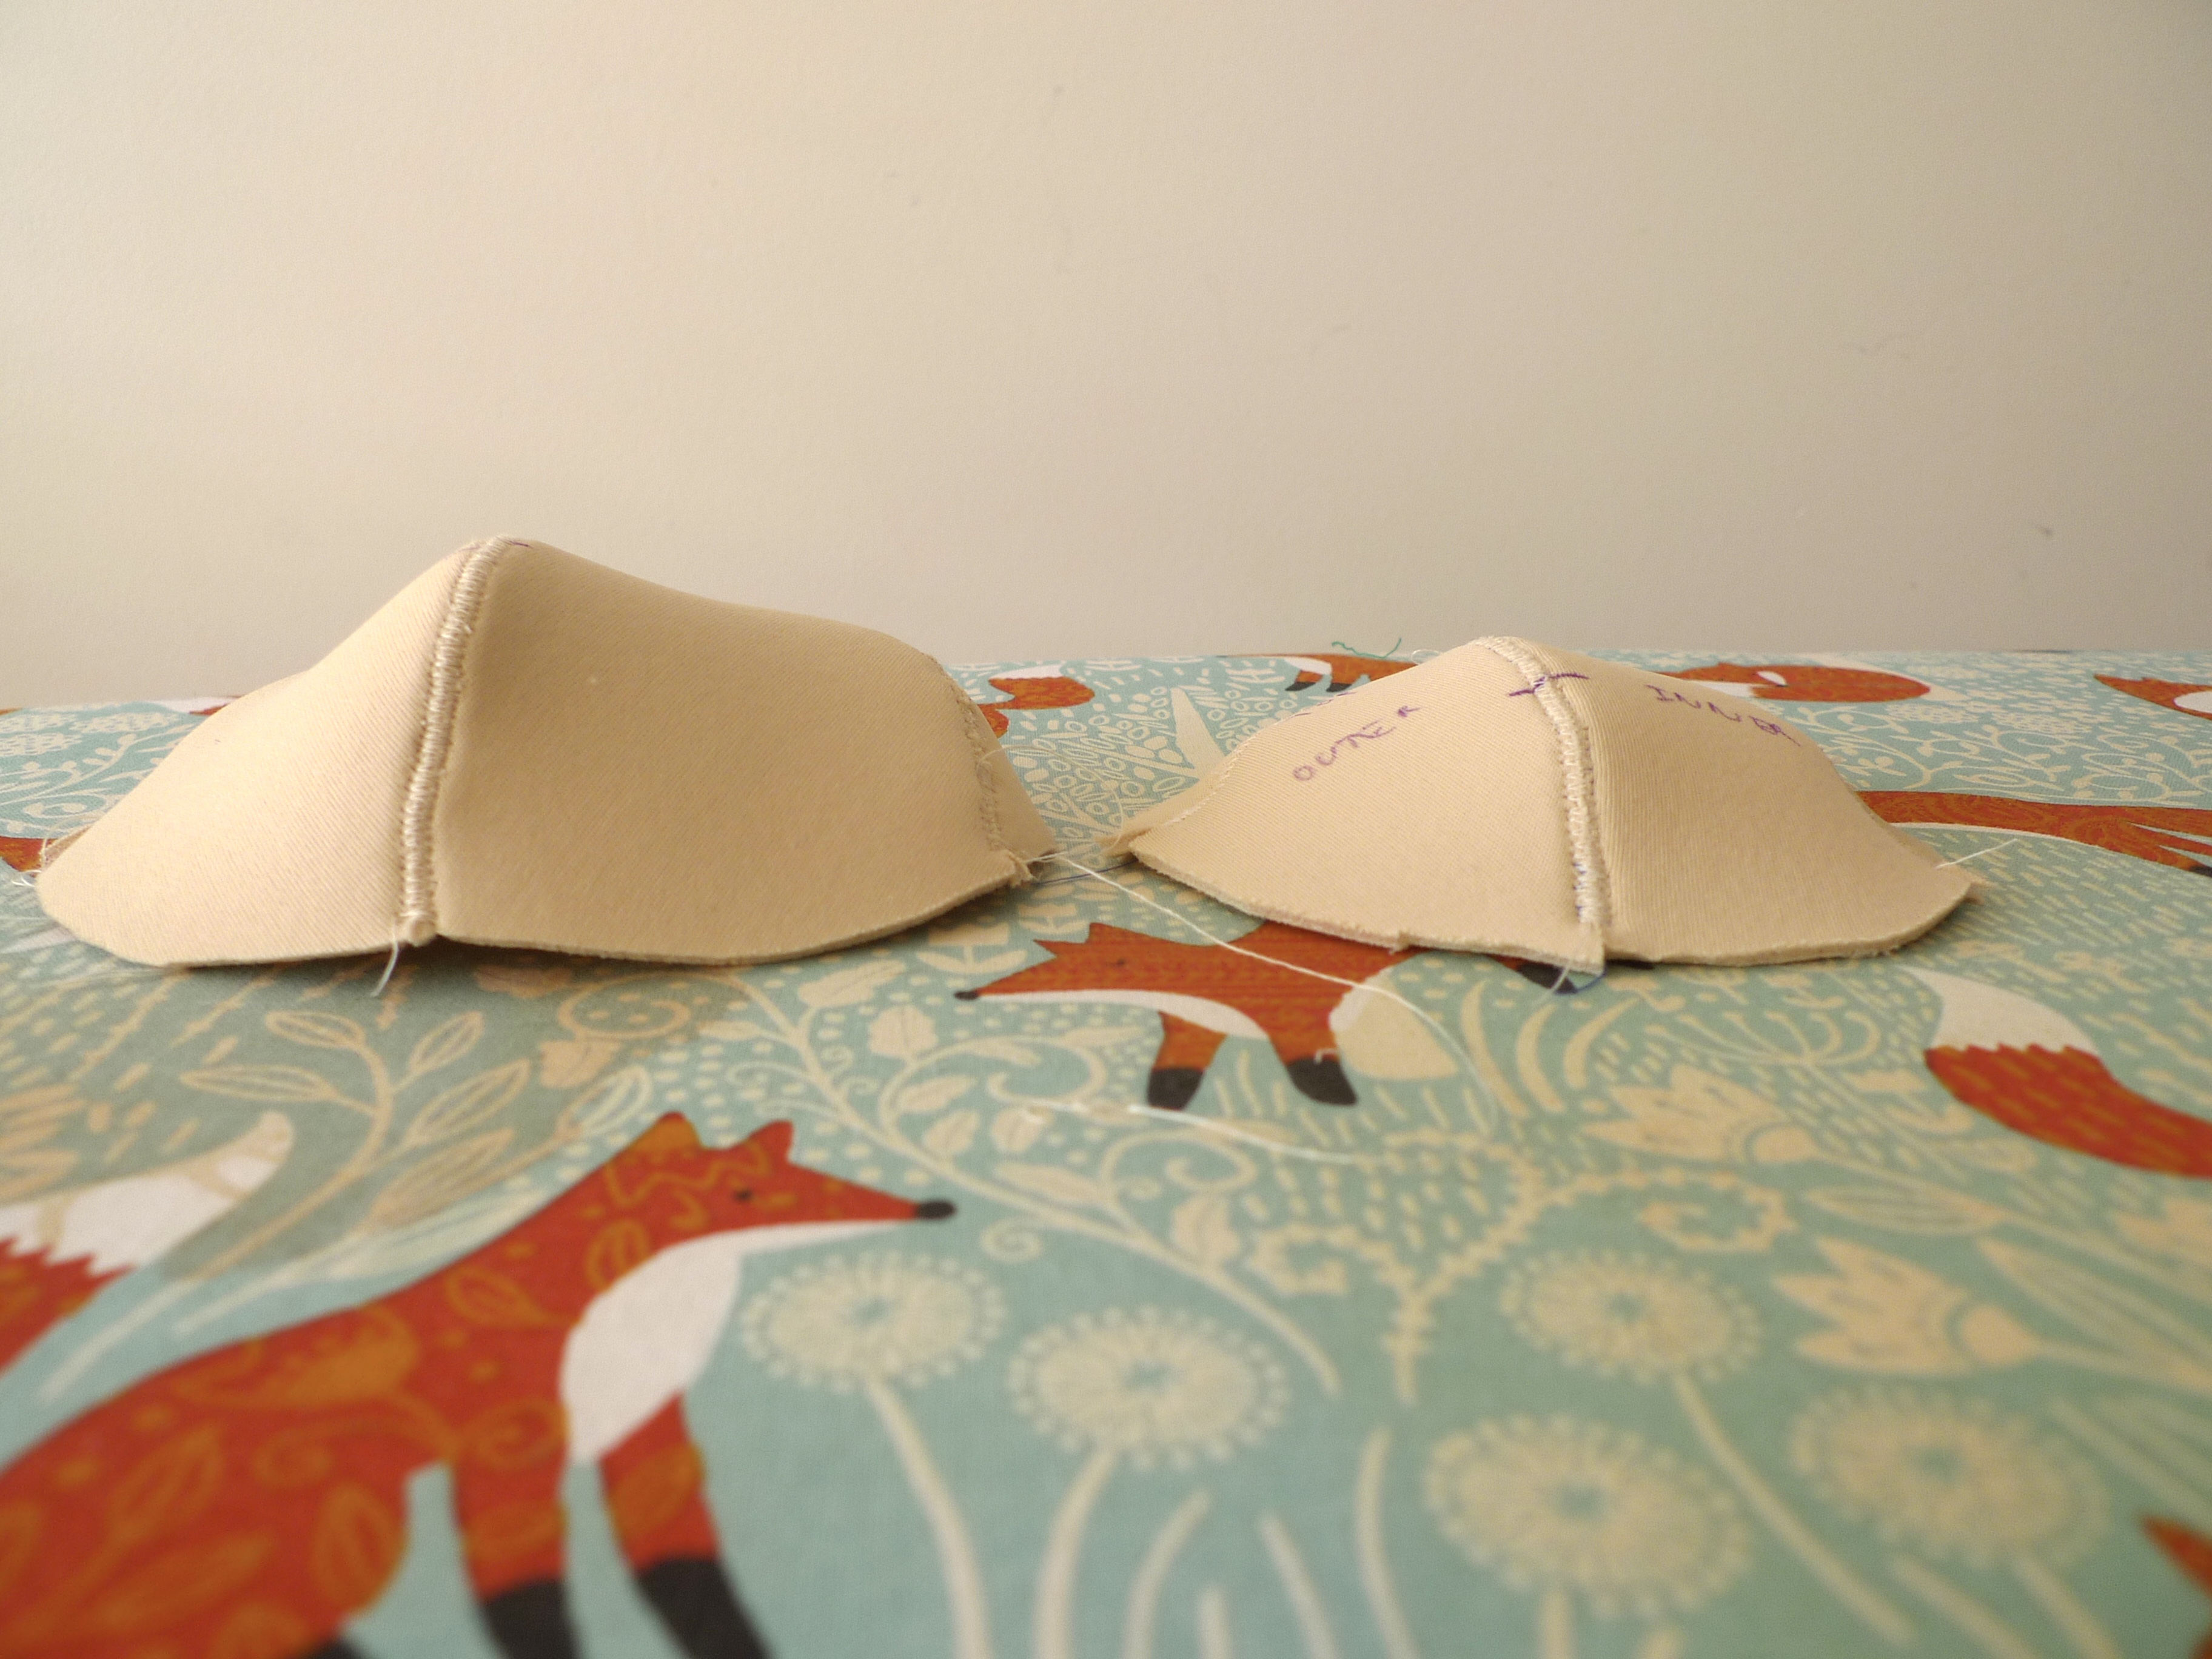
So, I trusted my gut and sewed a new test cup in size 1, which fit infinitely better but was still a bit too large in some areas. To make it fit I essentially had to flatten the front curve, which to be honest is what I expected!
The other change I knew I’d have to make was to widen the bridge, as my breasts are quite wide set. I roughly followed this very helpful tutorial from the Closet Case blog.

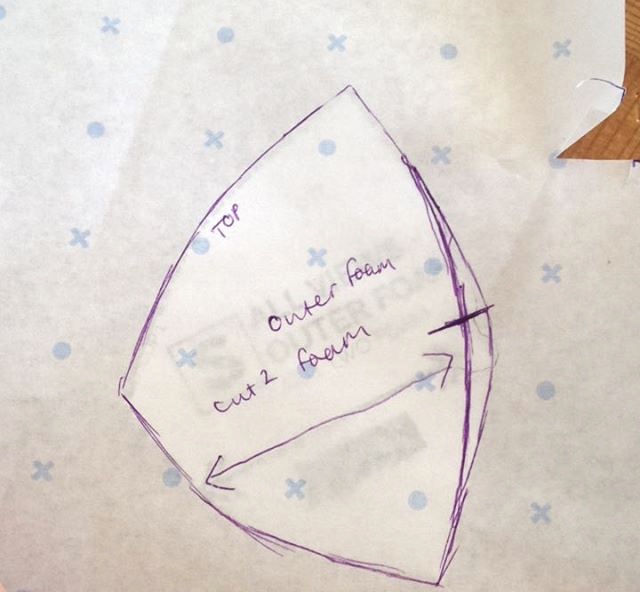
The original bridge pattern piece… 
…and my altered one.
I was originally going to grade up a size at the hips, but as it’s made out of stretchy fabric there’s a bit more leeway with fit, so in the end I just cut a straight size 0 for the bottoms. For the most part this worked out fine, it fitted perfectly except for the leg elastic, which was far too tight. I should have guessed this would be a problem; it’s easy for swimwear fabric to stretch a bit farther and still be comfortable, but swimwear elastic is much sturdier… In the end I cut the elastic to be exactly the same length as the leg opening, and after that it fit perfectly!
I lined the centre front panel with power mesh, for no particular reason other than I had some and wanted to try sewing with it. I was surprised at how easy it was to handle- If I made this pattern again (which I probably won’t, as one swimwear project was enough for me!) I’d like to try using power mesh for the side panels, for a slightly sheer look.

The bottoms are so comfy I’m actually considering making some high-waisted pants using the same pattern!
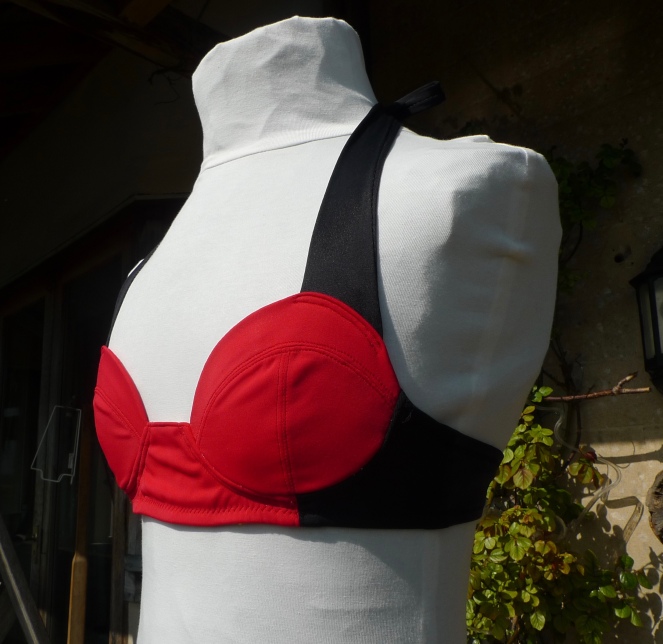

The bikini top is much more structured than what I usually sew. This made it challenging, but at the same time I loved the satisfaction of turning flat pattern pieces into something truly three dimensional. It makes me want to experiment with more structural projects- maybe a bra?
You may notice some excess fabric/wrinkles over the bridge… I don’t really know what happened here! The same thing also happened with the lining in this area, so it definitely wasn’t that the lining was too small. I tried not to let it get to me, but it did a bit. If you look closely at the images on the Closet Case website, they also seem to have a problem with the bridge wrinkling; maybe it’s unavoidable?
I was really pleased with my topstitching on the cups, but the topstitching underneath them is a different story. Luckily I didn’t plan on inserting underwires, as I sewed in the channelling so badly I don’t think I would have been able to. I unpicked the topstitching once, but couldn’t face unpicking it again so I just left it. And honestly, now I’ve worn the bikini a couple of times it doesn’t bother me at all. I definitely stress too much over the little things…

I was initially worried that I’d ‘fall out’ of the bikini top if I didn’t put underwires in, but the halter straps actually give quite a lot of support (at least they do for someone with my bust size!). Both the top and bottoms are incredibly comfy to swim in. I packed them when we went on holiday, and they still look good as new after several swims.
In the past swimwear was always something I’d feel very nervous about buying and wearing; in the summer it would often become a focus of my body-image/food issues. Lately I’ve been feeling far better about all that (partly due to sewing and making clothes to fit my body rather than the other way round) and ‘reclaiming’ an item of clothing that scared me for so long feels wonderful. I’m so pleased I persevered with this project.

Looked really good when you were wearing it!
Sent from Sherry Hotchkin
>
LikeLiked by 1 person
Thank you! Xxx
LikeLike