

This winter I’d originally planned on making a fully lined, 1960s style coat (I even bought the fabric for it!). However, I soon realised what I really needed was something basic that would go with everything. I also accepted that I just don’t have the time or the energy to make such an involved garment at the moment- be prepared to see lots of simple and straight forward makes this year!
I’d admired the Unlined Raw Edge Coat from afar in the past, but had been put off by the pattern cost and the small number of reviews out there. I decided to just go ahead and buy the pattern because, lets face it, buying a ready made coat like that would cost a fortune. Outerwear and underwear are the two areas of sewing where I think you can save the most money, so when you think about it this way the pattern cost is justifiable. That’s what I told myself, anyway!
I really struggled to find a nice boiled wool; by the end of my search I had about 25 samples from online shops, none of which were quite right and all of which were very expensive. Eventually I went to my local fabric shop and they happened to have some boiled wool in the perfect colour and weight for only £20 per metre! This meant the total cost of my coat came to about £65, which is still pretty reasonable.
I always seem to choose patterns that I think will be ‘easy to fit’, and they always turn out to be the opposite! This was no exception. When I toiled it there was a whole load of excess fabric behind my arms, and the whole garment was being pulled to the back; here I am helpfully pointing out the problems:

I carefully examined the photos in other people’s reviews to see if they had similar issues, and in Noble and Daughter’s review she mentioned having to make a big forward shoulder adjustment. I decided to try this before doing anything else, and moved the shoulder seam forward by about 3.5cm. As you can see in the photo below, I was very indecisive about how far to move it, hence all the different lines! This is an example of why pattern reviews are so helpful for other sewists- without reading about someone else’s fit adjustments I probably would’ve doubted myself.

Normally, to reduce the bulk behind my arms I would’ve tried resewing the underarm/side seam to remove some fabric there. However, I’d specifically chosen this pattern so I could wear big batwing sweaters under it, so making the underarm smaller was out of the question. After stressing about it for several days I just ploughed ahead and cut out my boiled wool, thinking if worst came to worst I could just resew the underarm seam.
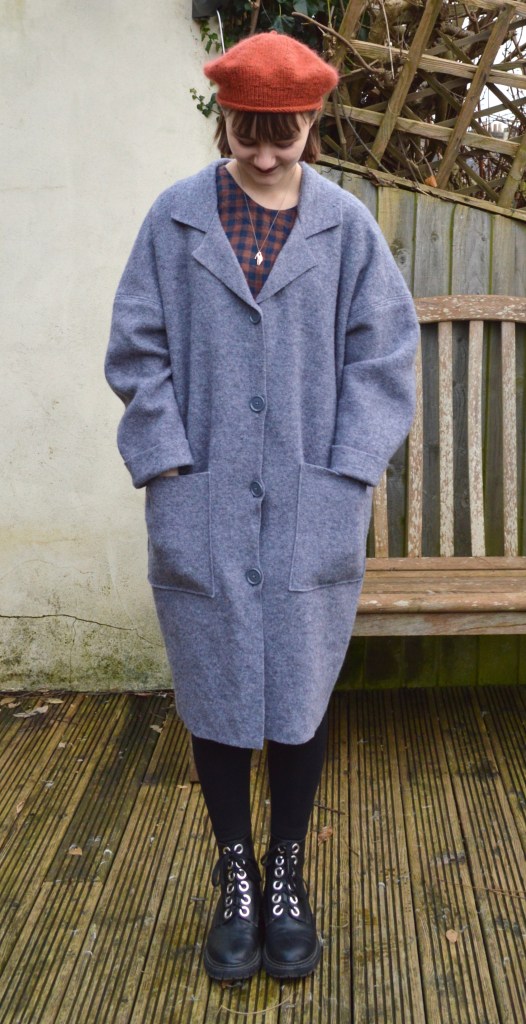
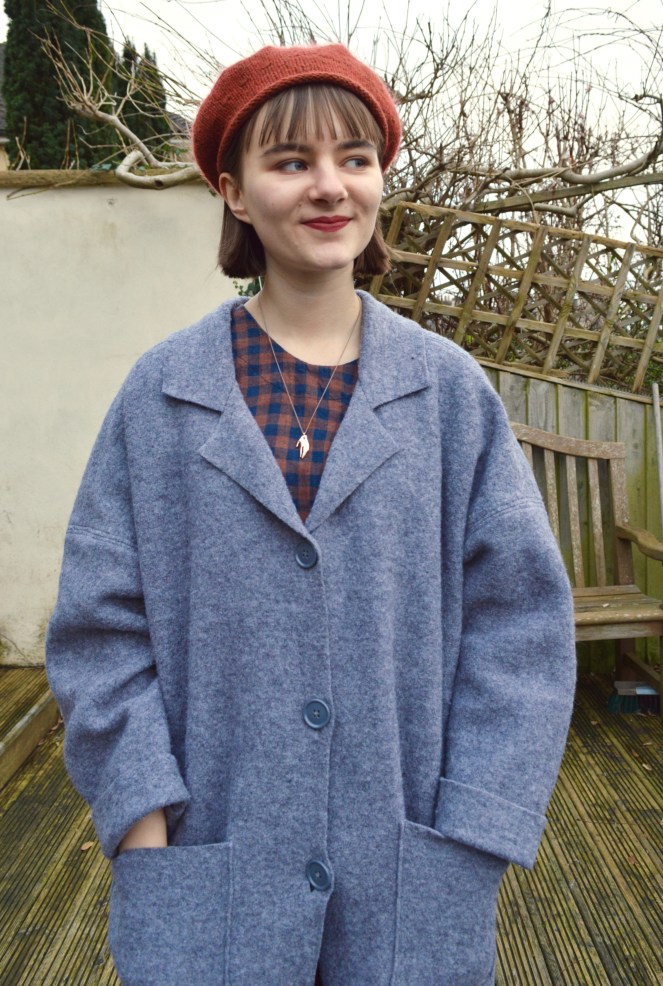
As it turns out, I needn’t have worried, because in the boiled wool it fits absolutely fine! I think the IKEA calico I used for the toile had some kind of a coating on it that made it hang weirdly. Here you can see how the finished coat fits:

Looking at the finished coat, I may have been a bit overzealous with my forward shoulder adjustment, but boiled wool hangs in an unusual way because of its stretch and weight so I couldn’t have predicted that. Also, it constantly shifts around when it’s being worn, so sometimes the shoulder seam sits perfectly!
The other minor adjustments I made were to shorten the sleeves and lower the pockets.

The actual sewing process went pretty smoothly, and in total took about two afternoons to make. That’s ridiculously fast for a coat!
Now onto the instructions. They were fine, I just would have expected something more from an expensive pattern. I kept comparing it to Tilly and the Buttons patterns, which are printed on thick paper, have detailed instructions with photos for each step, and cost almost £10 less than The Maker’s Atelier patterns. There were little details like notches not being in the right places, and a few instructions that could have been clearer (the buttons and buttonholes especially; no measurements or placement markings were given so I found that part a little tricky to navigate). Maybe it just needed to be tested a few more times, as they’re all fairly minor issues that could be easily corrected. And this is by no means a dig at the pattern or the pattern company; just what my personal thoughts were. In the end, I have a coat that I love, so I’m perfectly happy!
One thing I really liked about the pattern was the inclusion of a label you can sew into the finished garment. It’s a thoughtful detail that makes the coat feel special, and the label has a cute little button on it. I always cut off labels that are on the back neck as I find them itchy, so instead I sewed it inside the front of the coat.

One of my favourite things about the coat is the topstitched seams. I love topstitching, especially if it’s not immediately noticeable, and in this case it adds a bit more structure to an otherwise drapey fabric. I even went a step further and added topstitching to the side seams, to help the coat hold its cocoon shape.

Because the pattern doesn’t tell you what size of buttons to get, it also doesn’t tell you what size to make the buttonholes. I made my buttonholes the diameter of my buttons + their depth, as I heard on the Love To Sew podcast this was the way to do it. Normally this method would work, but boiled wool has a tendency to stretch out, so either I cut them too large to begin with or they ‘grew’ the more I used them…
As evidenced in the photos below, where you can see the coat sneakily unbuttoning itself over about 10 seconds!


This was an easy problem to fix, by simply hand sewing some stitches at the top and bottom of each buttonhole to secure them and make them smaller. If you’re using boiled wool, I would advise you to make your buttonholes slightly smaller than they need to be just in case!
Overall, I absolutely LOVE my new coat. It’s smart but not formal, and because of the stretch it feels like wearing a cosy cardigan (actually it feels like a wearable blanket!).
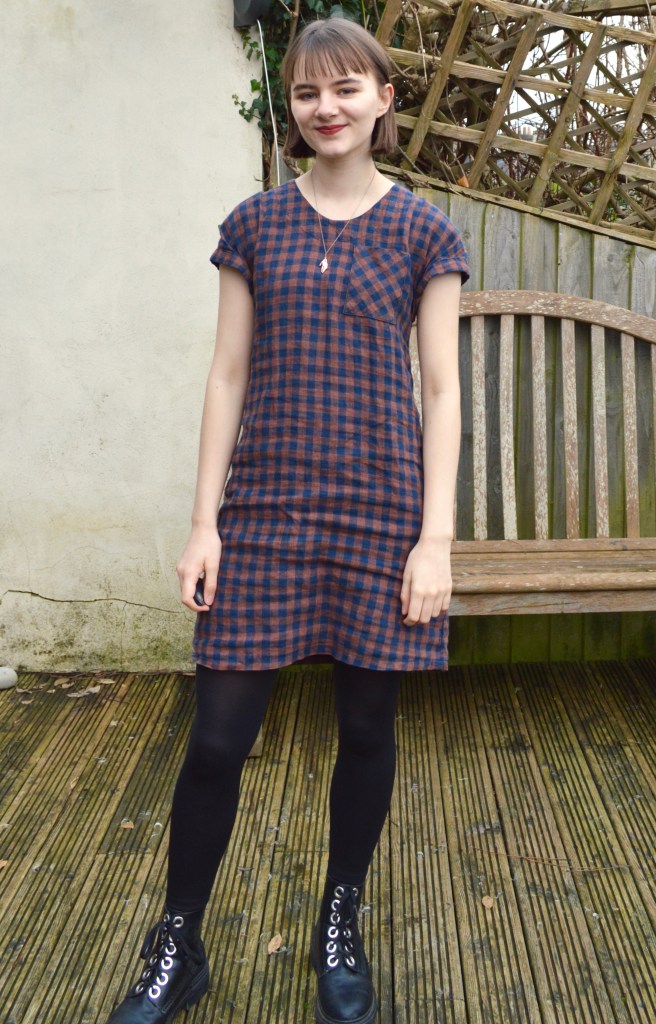
I’d also just like to mention the dress I’m wearing in these photos; no prizes for guessing which pattern it is…
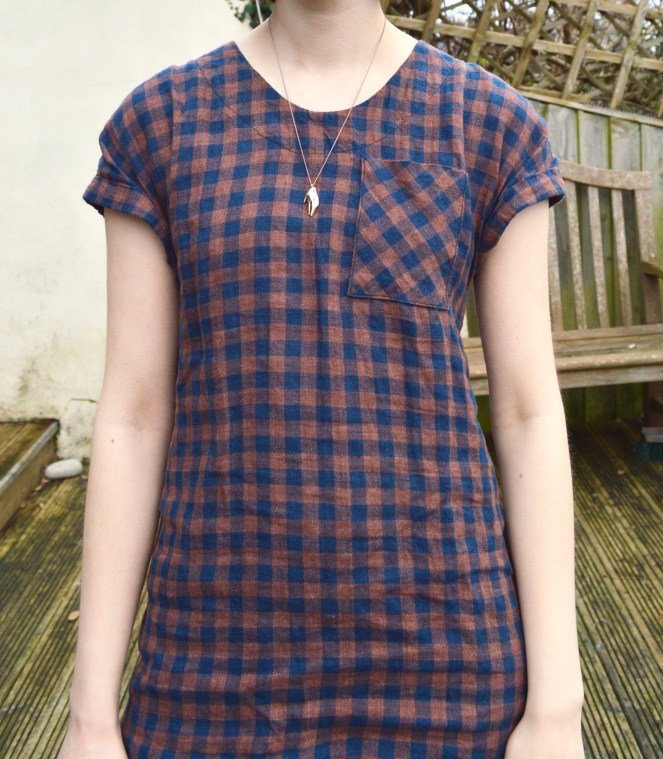
That’s right, it’s another Tilly and the Buttons Stevie! (for my previous versions see here) This time in a linen from Merchant and Mills. I’ve been wearing this non-stop, and it happens to make the perfect autumnal outfit with my new coat and my beret. However, it is extremely easy to crease, so much so that by the end of the day the front is several inches shorter than the back:
I don’t care though, as it’s all part of linen’s charm!
(Congratulations if you’ve made it to the end of this lengthy post!)

I ignore button recommendations as I’ve got so many in stash, what gets used is what matched and I’ll make the buttonholes to match. Normally you use interfacing behind buttonholes to stop them stretching, but that’s not going to work on an unlined coat without facings; maybe turn them into a bound buttonhole with something to stiffen them?
LikeLiked by 1 person
Thanks for your tips! They’re fine now that I’ve hand-stitched at the top and bottom, but in the future I’ll definitely learn from my mistake and stabilise the area before sewing the buttonholes. 🙂
LikeLike
Nice job!
LikeLike